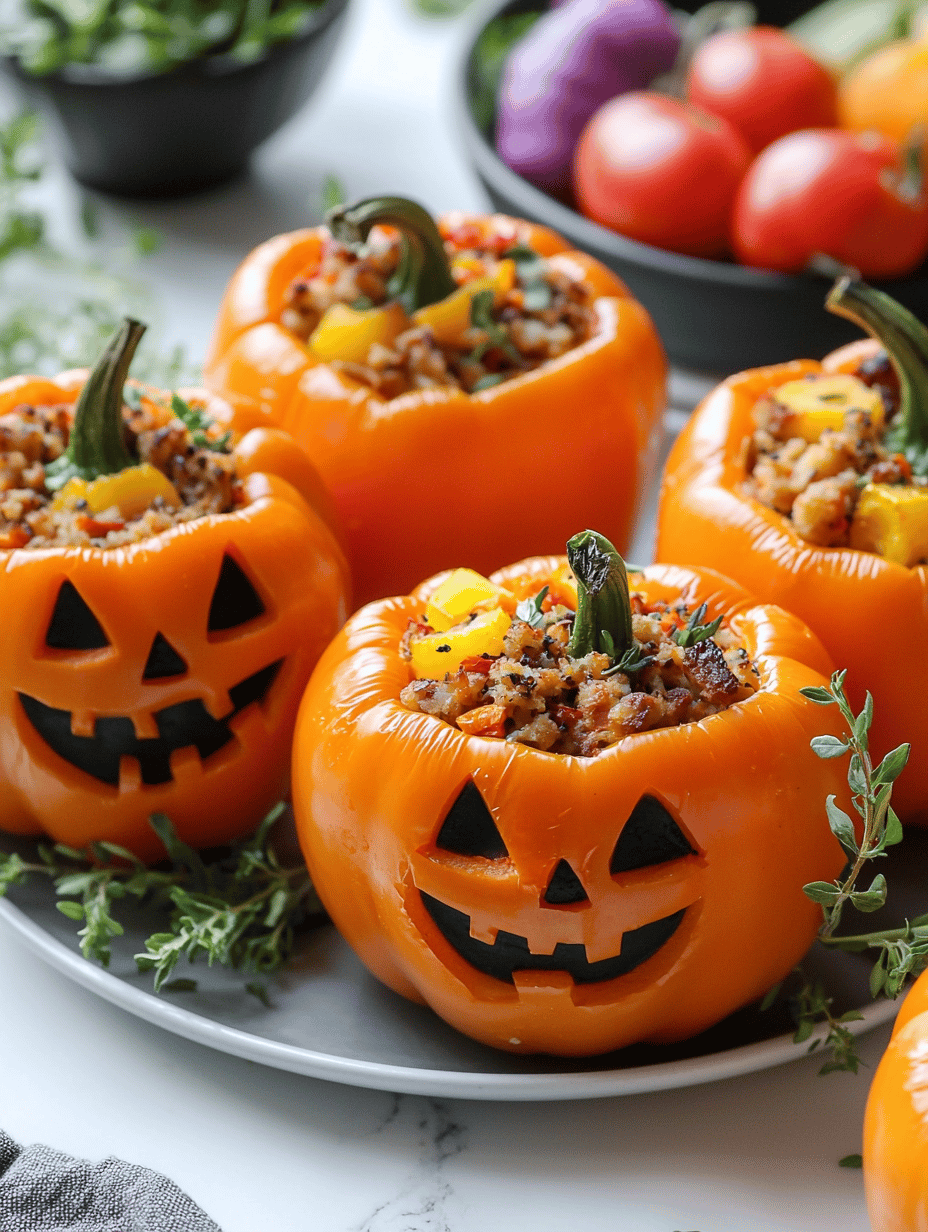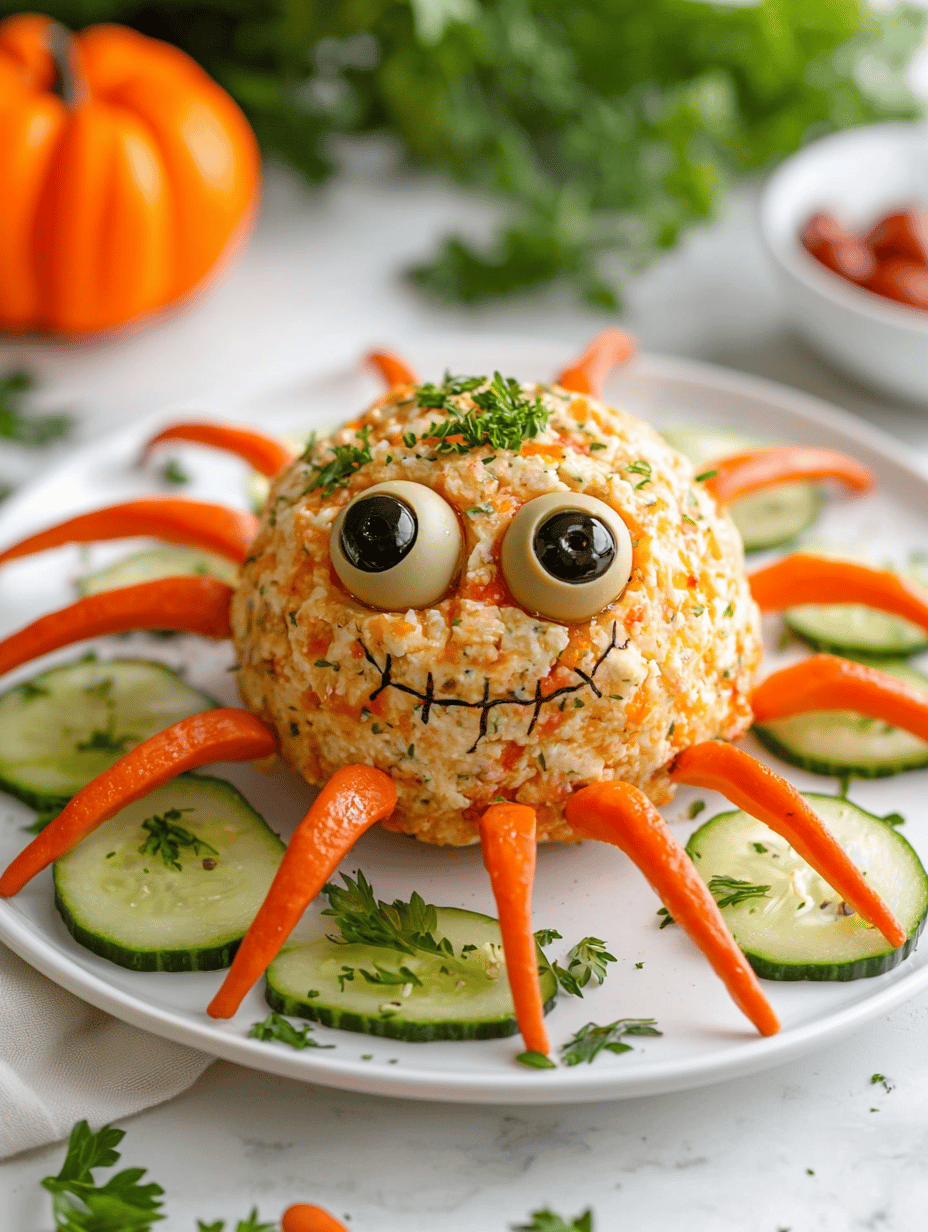
Spooky Eyeball Deviled Eggs: A Halloween Twist You’ll Love

Every October, I find myself drawn to decorating food with a touch of chaos. These Halloween Deviled Egg Eyeballs are my way of turning simple deviled eggs into creepy, edible art that’s as fun to make as it is to eat. The squeal of surprise when someone bites into a gooey, bloody-looking eyeball is priceless. … Read more