Witchy Whimsy: Spooky Halloween Finger Cookies That Actually Spell Fun
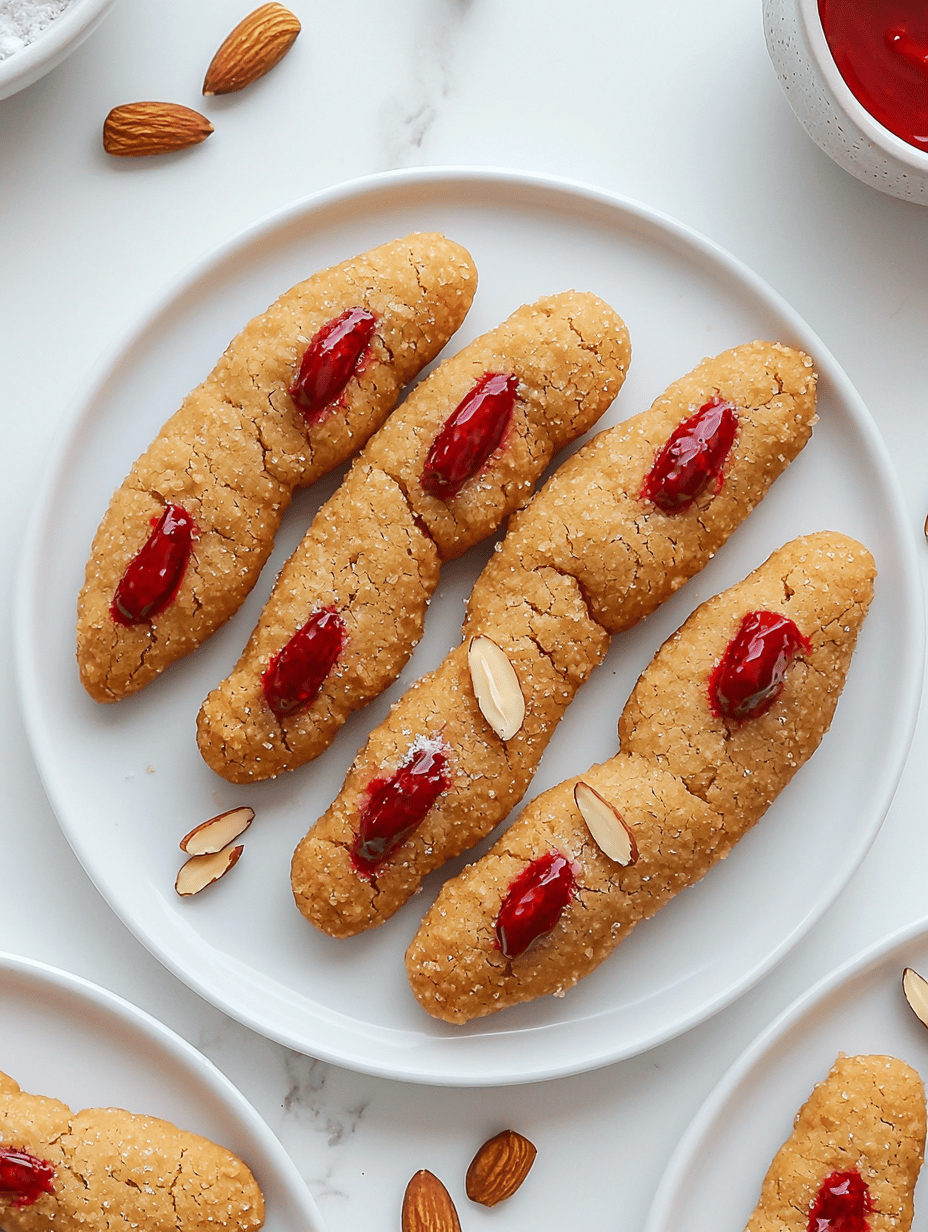
In the quiet chaos of Halloween preparations, I stumbled upon a childhood memory—crafting eerie, edible fingers from simple ingredients. These Witch Finger Cookies turn a basic treat into an eye-catching centerpiece, perfect for sealing in the season’s mysterious charm. The smell of toasted almonds and vanilla wafts through the kitchen as these creepy creations take … Read more