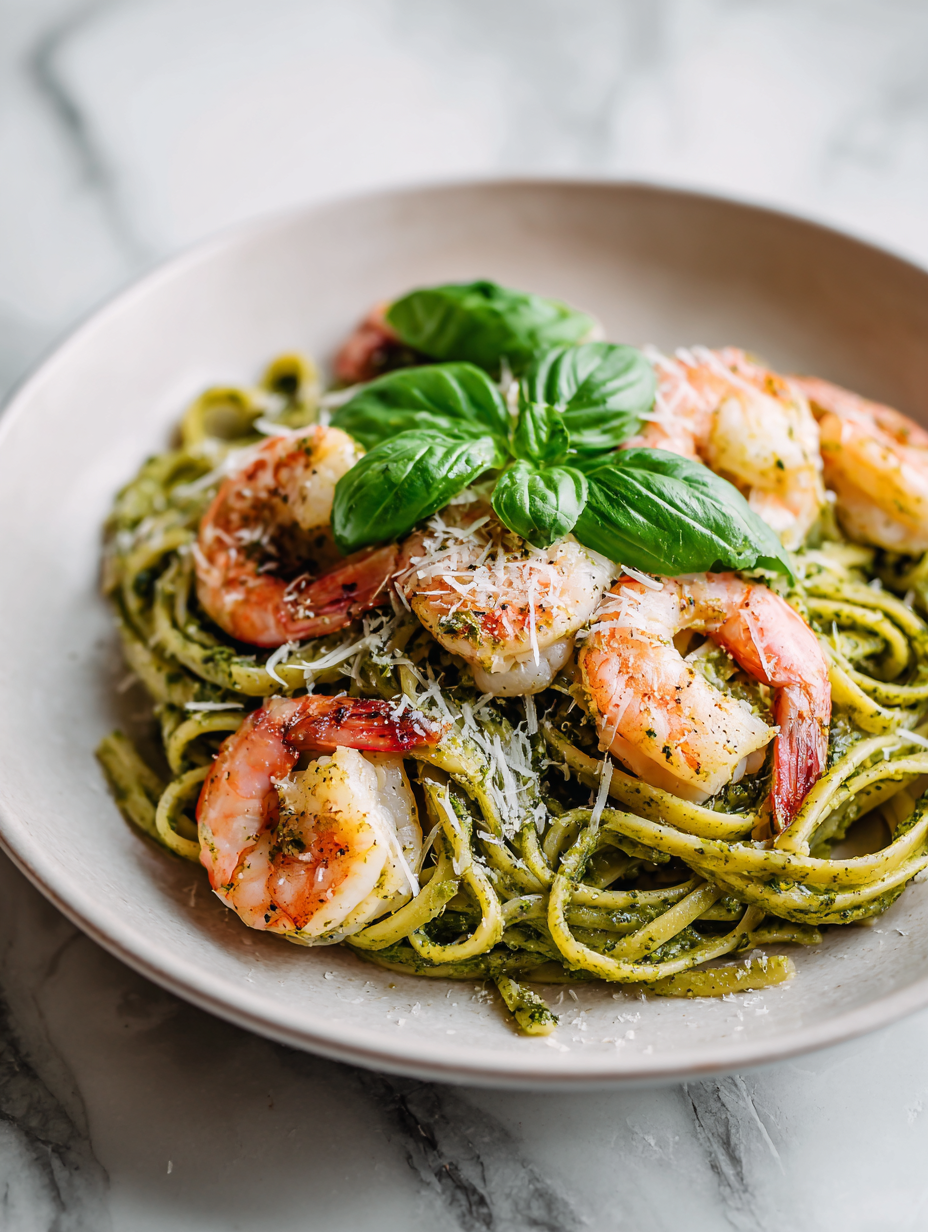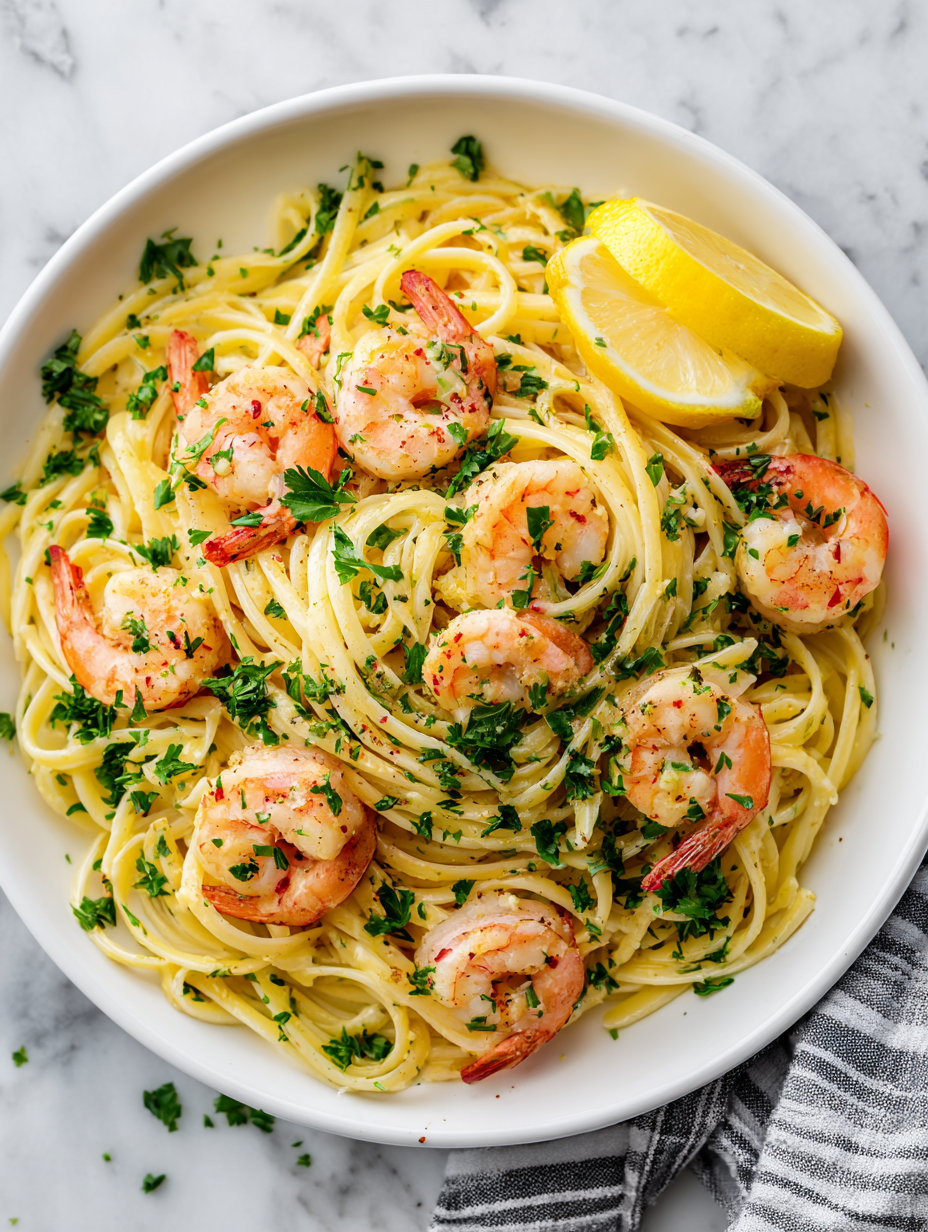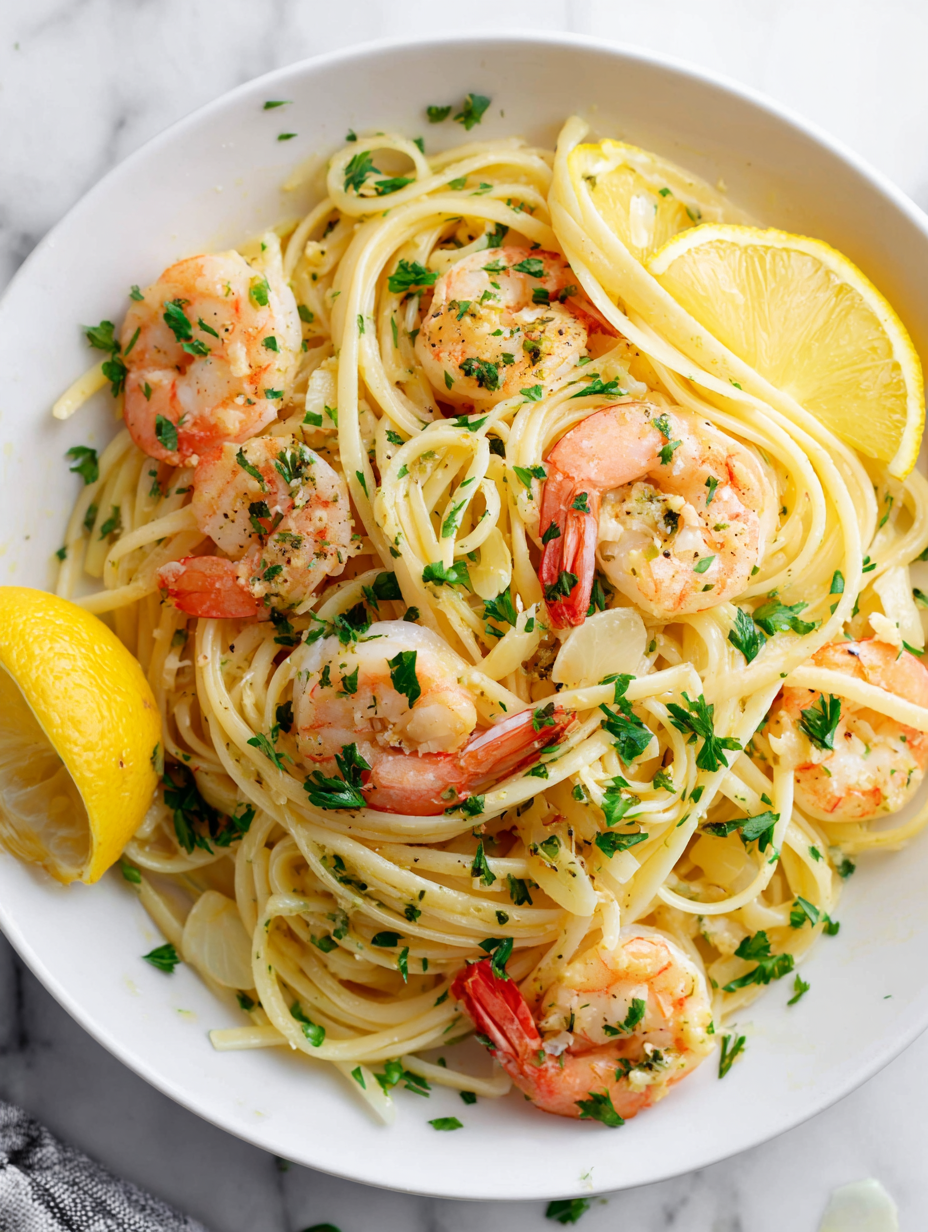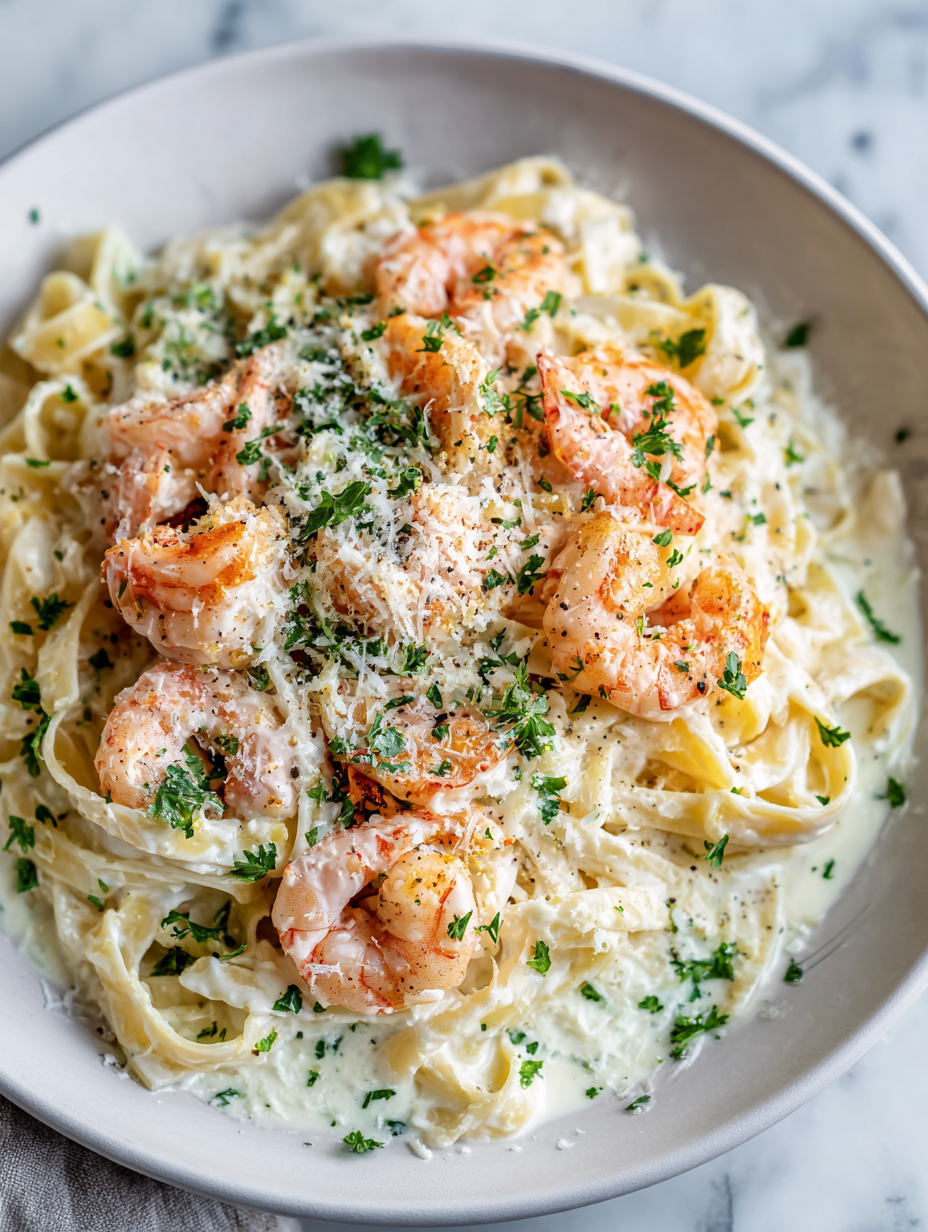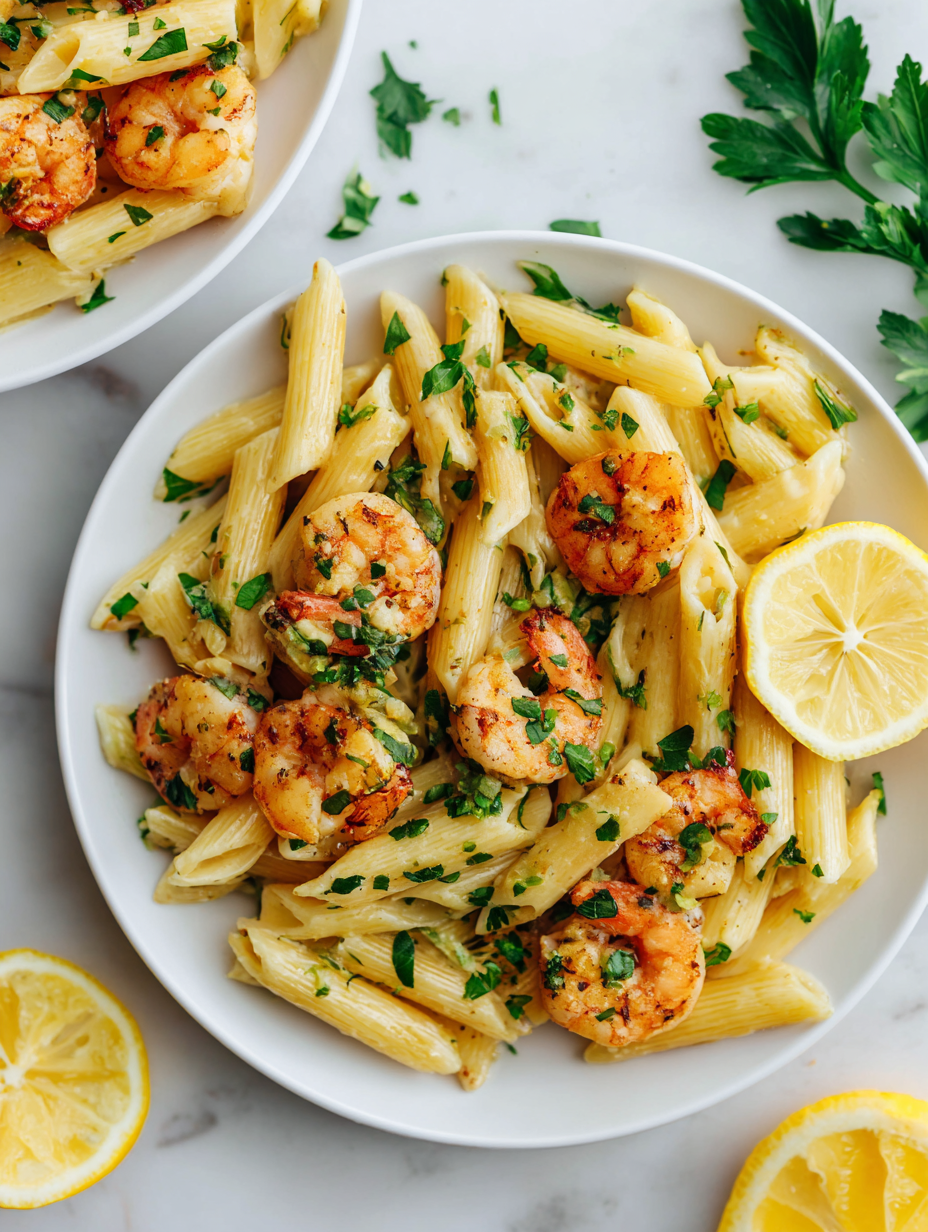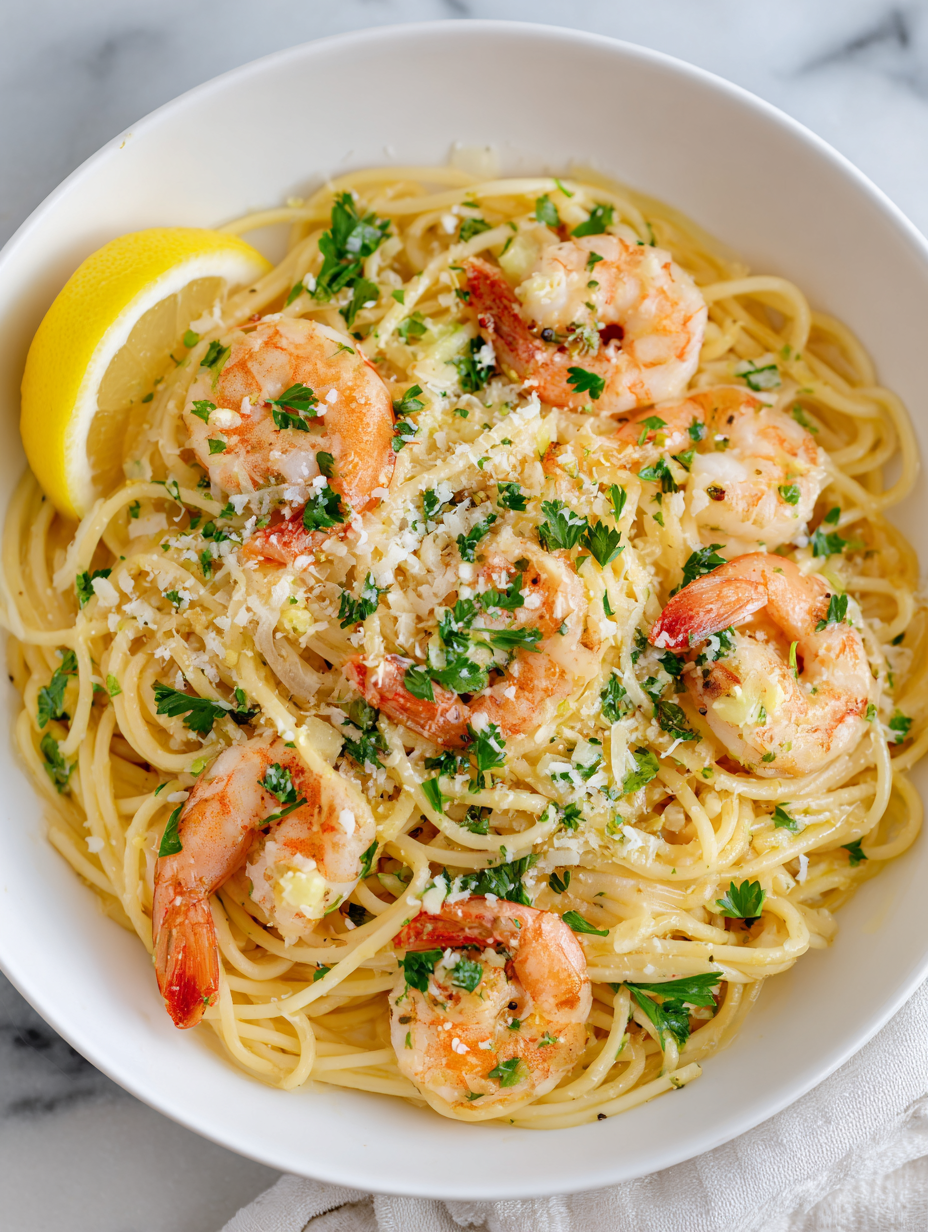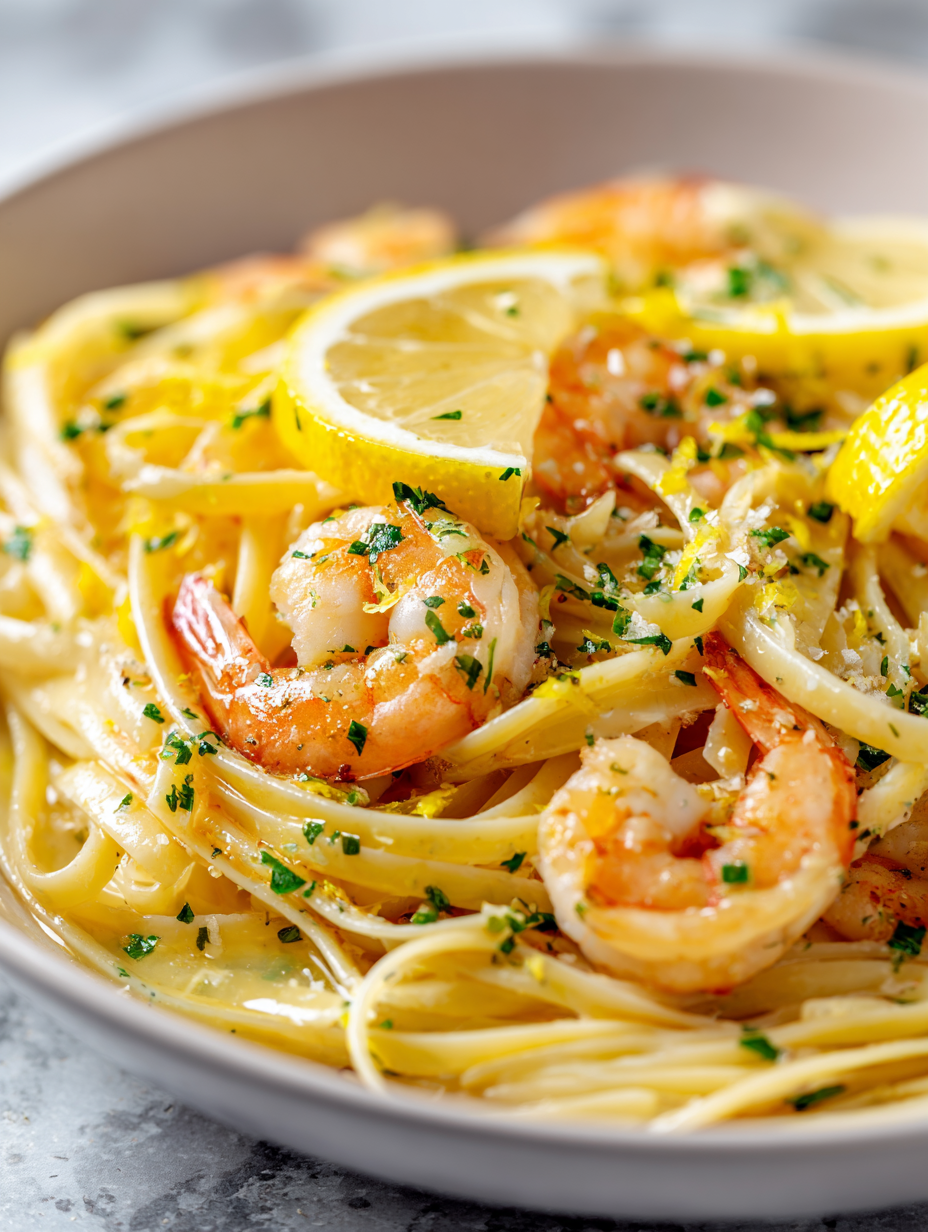
Shrimp Cajun Pasta Recipe
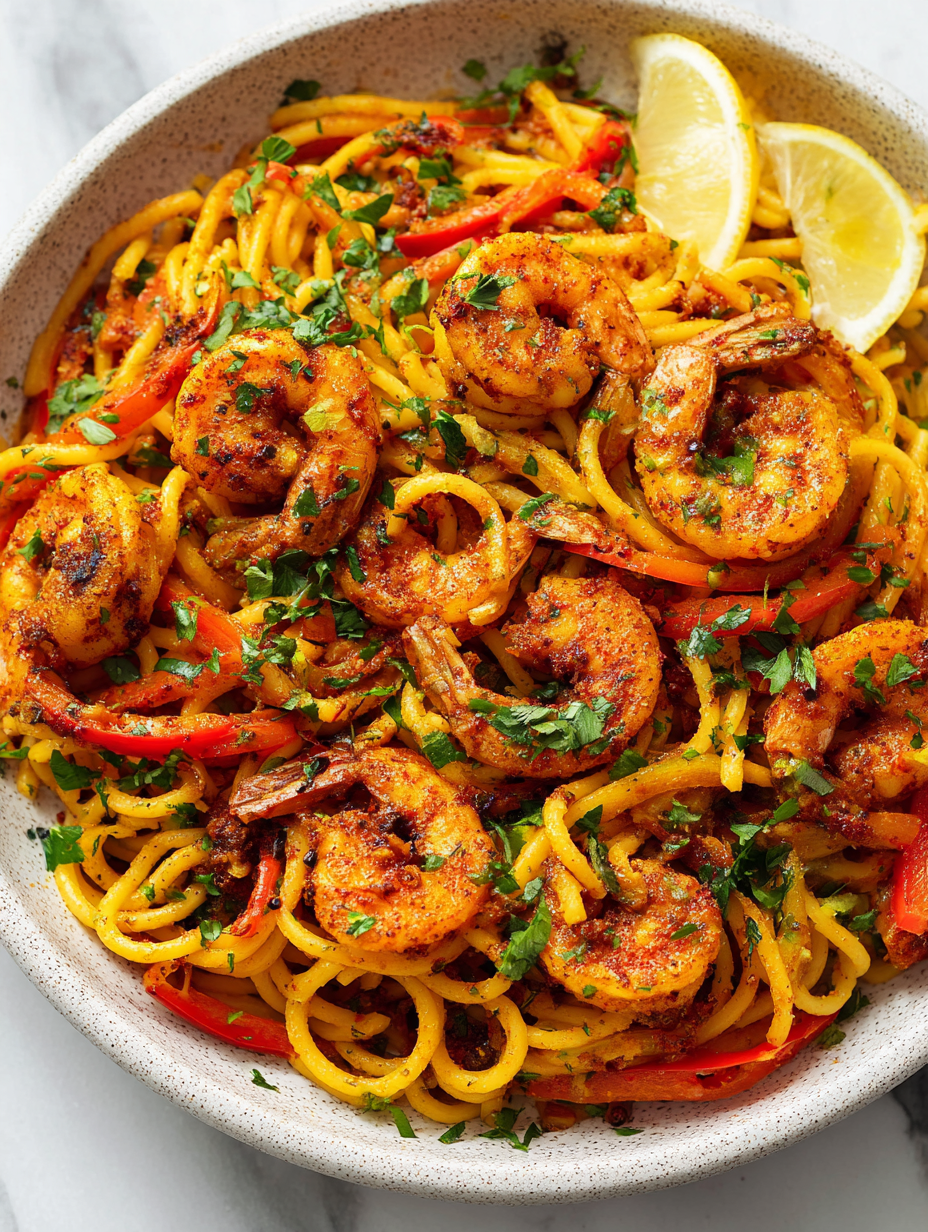
There’s something about the way Cajun spices hit your tongue—spicy, smoky, a little fiery—that makes me reach for this dish on nights when I need a bit of warmth. Shrimp Cajun Pasta isn’t just about bold flavors; it’s that perfect combo of heat and comfort, like a spicy hug in a bowl. I love how … Read more