Shrimp Marinara Recipe
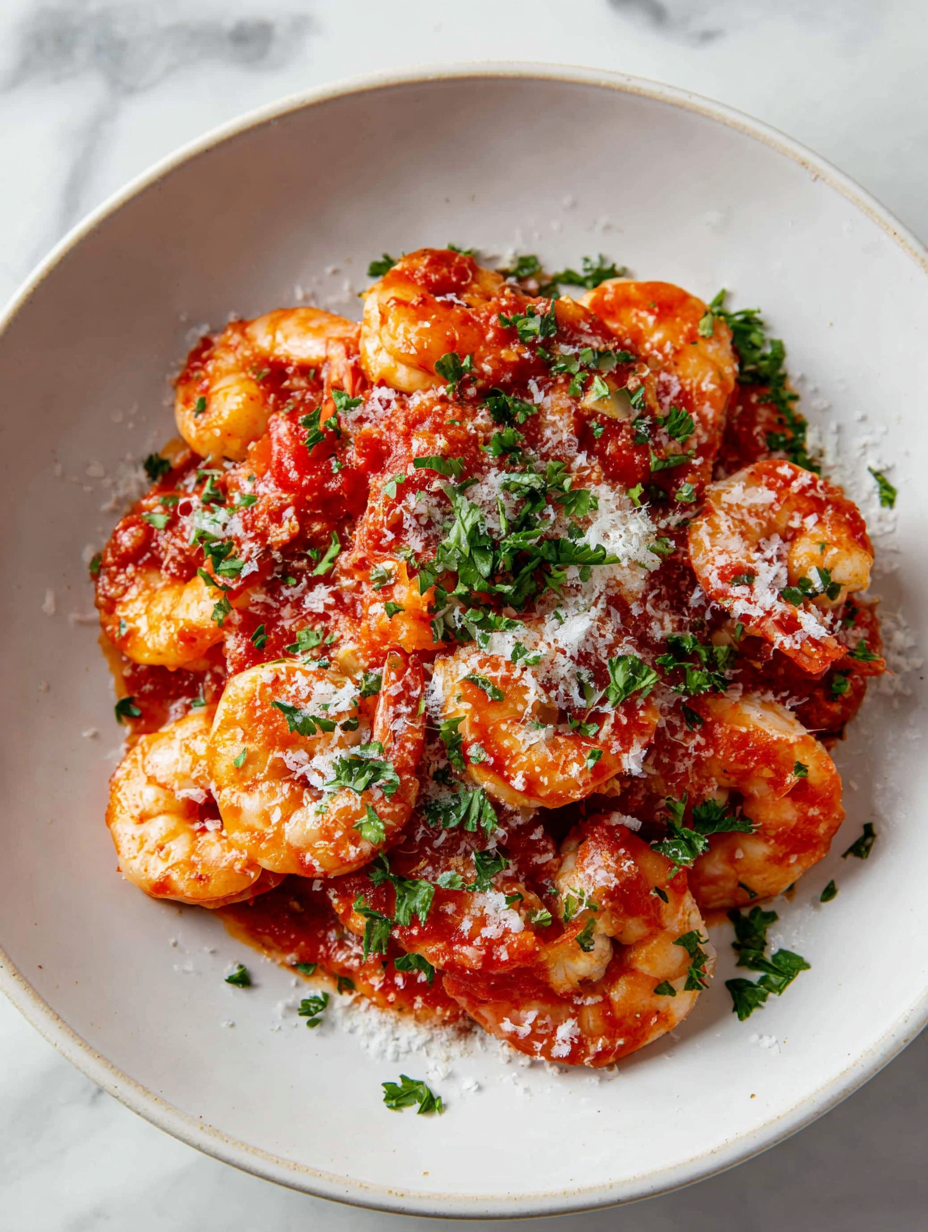
Shrimp in marinara often gets the short end of the stick, seen as just a quick seafood add-on. But when you focus on how the shrimp’s natural brininess and sweet undertones play with a well-crafted tomato sauce, it becomes a whole different dish. There’s a simplicity here, yes, but also a hidden layer of flavor … Read more