Shrimp And Grits Recipe
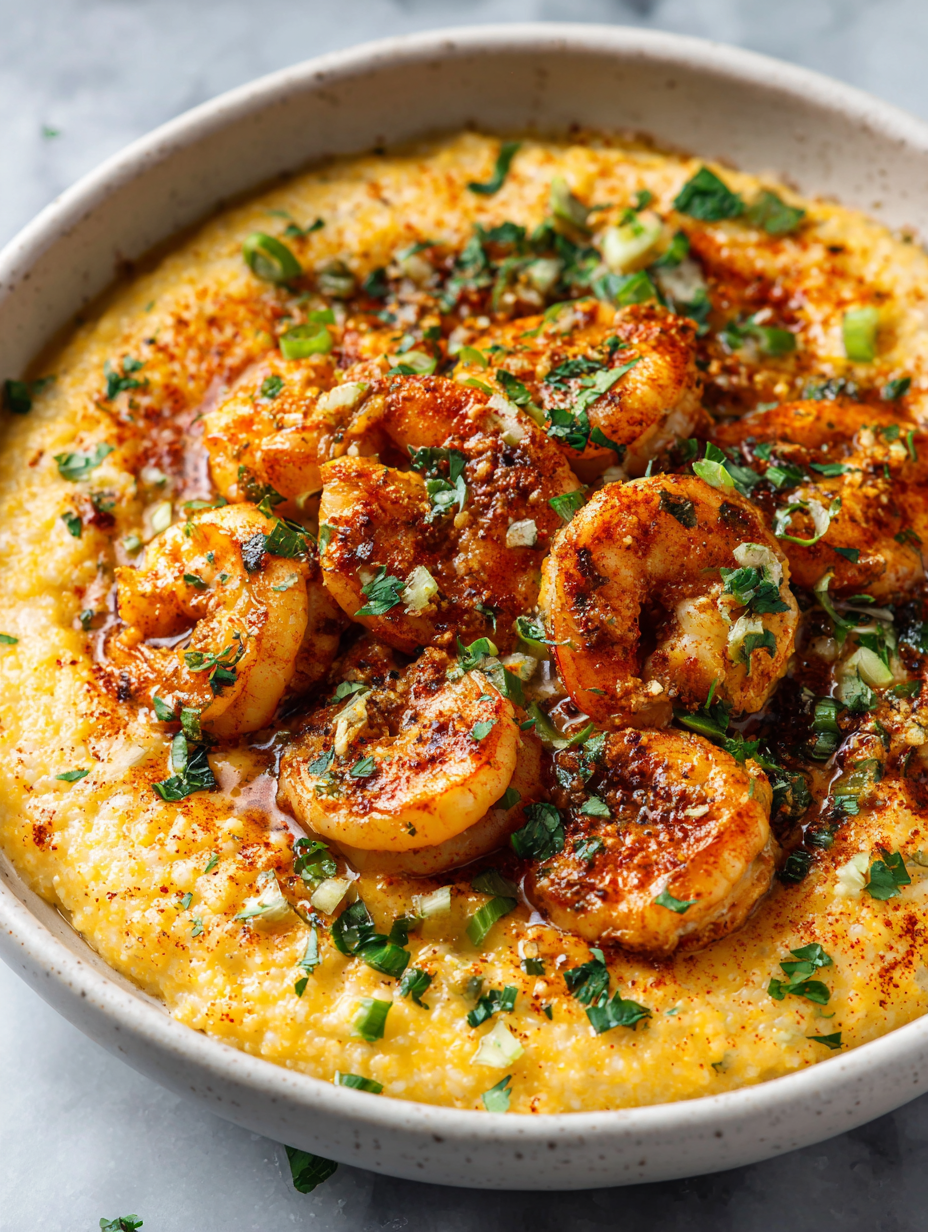
Shrimp and grits is one of those dishes that feels both comfortingly familiar and unexpectedly exciting when you give it a smoky, spicy twist. I’ve always loved how the creamy texture of the grits balances out the briny sweetness of shrimp, but adding a touch of smoked paprika and a splash of hot sauce really … Read more