Ingredients
Equipment
Method
- Place softened cream cheese in a mixing bowl and stir until smooth and creamy, releasing a slight tangy aroma.
- Add finely chopped fresh herbs and spices to the cream cheese, folding them in gently until evenly distributed. The mixture should be fragrant and slightly speckled with green or red hints.
- Transfer the mixture onto a piece of parchment paper and shape it into a tight, round ball using your hands, pressing firmly to ensure it holds together. Chill in the refrigerator for about 15–20 minutes to set.
- While the cheese ball chills, preheat your oven to 375°F (190°C). Arrange the breadsticks or pretzel sticks on a baking sheet lined with parchment paper and bake for 5–7 minutes until they are golden and crispy, then let them cool.
- Remove the chilled cheese ball from the refrigerator and roll it gently in coarse herbs or chopped nuts, coating the surface evenly for added texture and flavor.
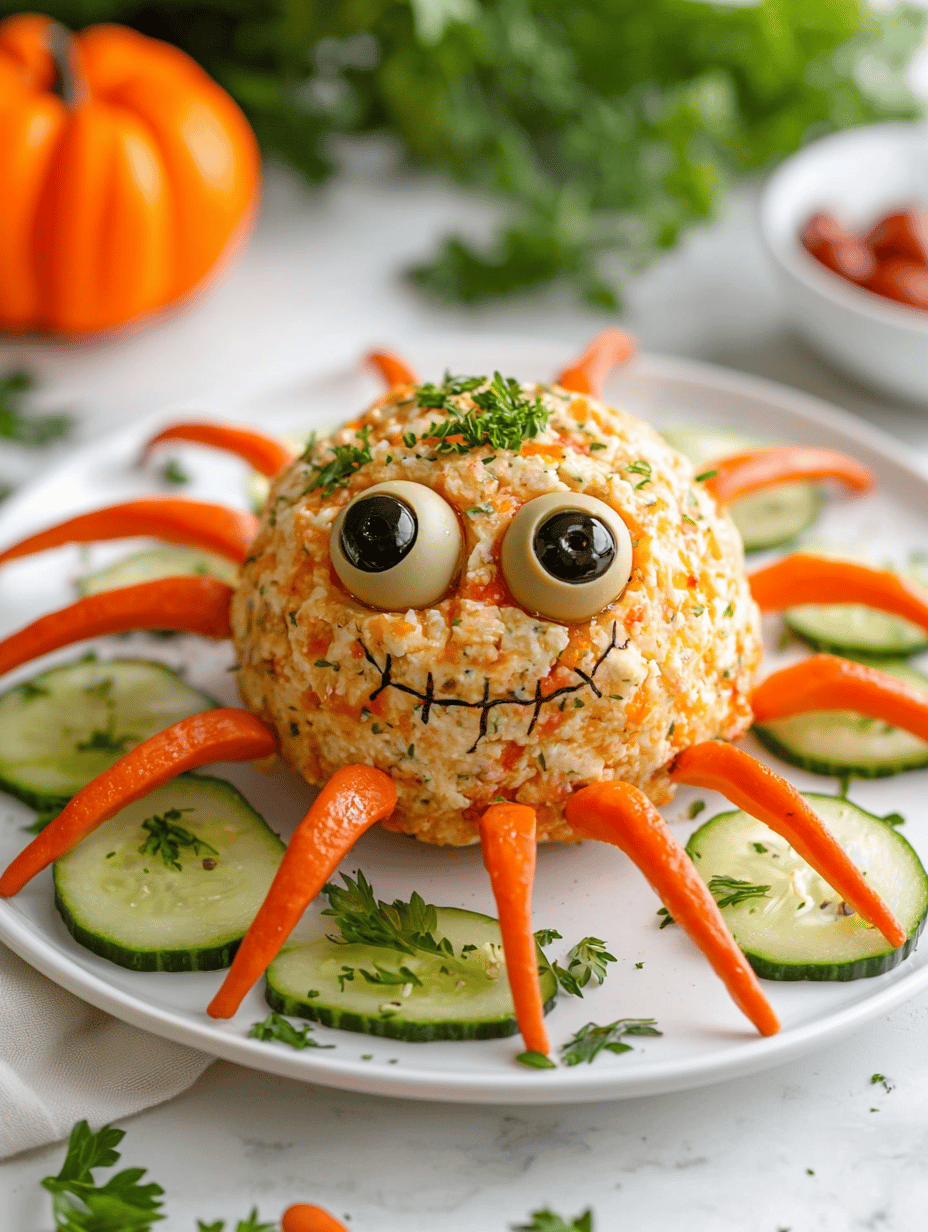
- Poke small holes into the cheese ball to insert the crispy breadsticks as spider legs, arranging them evenly around the ball for a balanced, spider-like appearance. Secure with a small amount of cheese if needed.
- Add small decorative edible eyes on top of the cheese ball to give it a spooky, animated look, placing them carefully for symmetry.
- Place the finished spider cheese ball on a serving plate, arranging the legs so they spread out evenly for a dramatic effect. Chill for an additional 10 minutes if needed to help everything set.
- Once set, display this quirky, creepy cheese ball as a fun centerpiece on your Halloween table and enjoy with crackers or sliced baguette.
Notes
Chilling the cheese ball before decorating helps prevent melting of the legs, ensuring a tidy presentation. Be careful not to overbake the breadsticks to keep them crispy and prevent burning. Use a ruler or template for even leg placement for maximum spookiness.
